Background
So it was a big weekend for Apple fans as Apple launched Catalina and I was excited to get my 2012 macBook Pro updated to latest operating system.
I was thinking why not upgrade my desktop to a Hackintosh?
Not sure what I was thinking but it didn’t go well for me. After tweaking BIOS, and creating a bootable USB drive with Catalina, all I could get was a dreaded black screen with a blinking cursor.
🤷♂ oh the sadness
So I decided to give Windows 10 a shot now that WSL(Windows Subsystem for Linux)2 was available.
Getting Started
First off you’ll need to be running Windows 10 build 18917 or higher. At the time of this post, the only way to get there was by joining the Windows Insider Program and joining the Fast Ring.

You can check your Windows version by opening Command Prompt and running the ver command.
ver // Microsoft Windows [Version 10.0.18999.1]
Next you’ll want to enable the ‘Virtual Machine Platform’ optional component and make sure WSL is enabled.
Open PowerShell as an Administrator and run:
Enable-WindowsOptionalFeature -Online -FeatureName VirtualMachinePlatform
Enable-WindowsOptionalFeature -Online -FeatureName Microsoft-Windows-Subsystem-Linux
This will cause a reboot.
I wanted to make WSL 2 the default architecture so you’ll want to:
Open PowerShell as an Administrator and run:
wsl --set-default-version 2
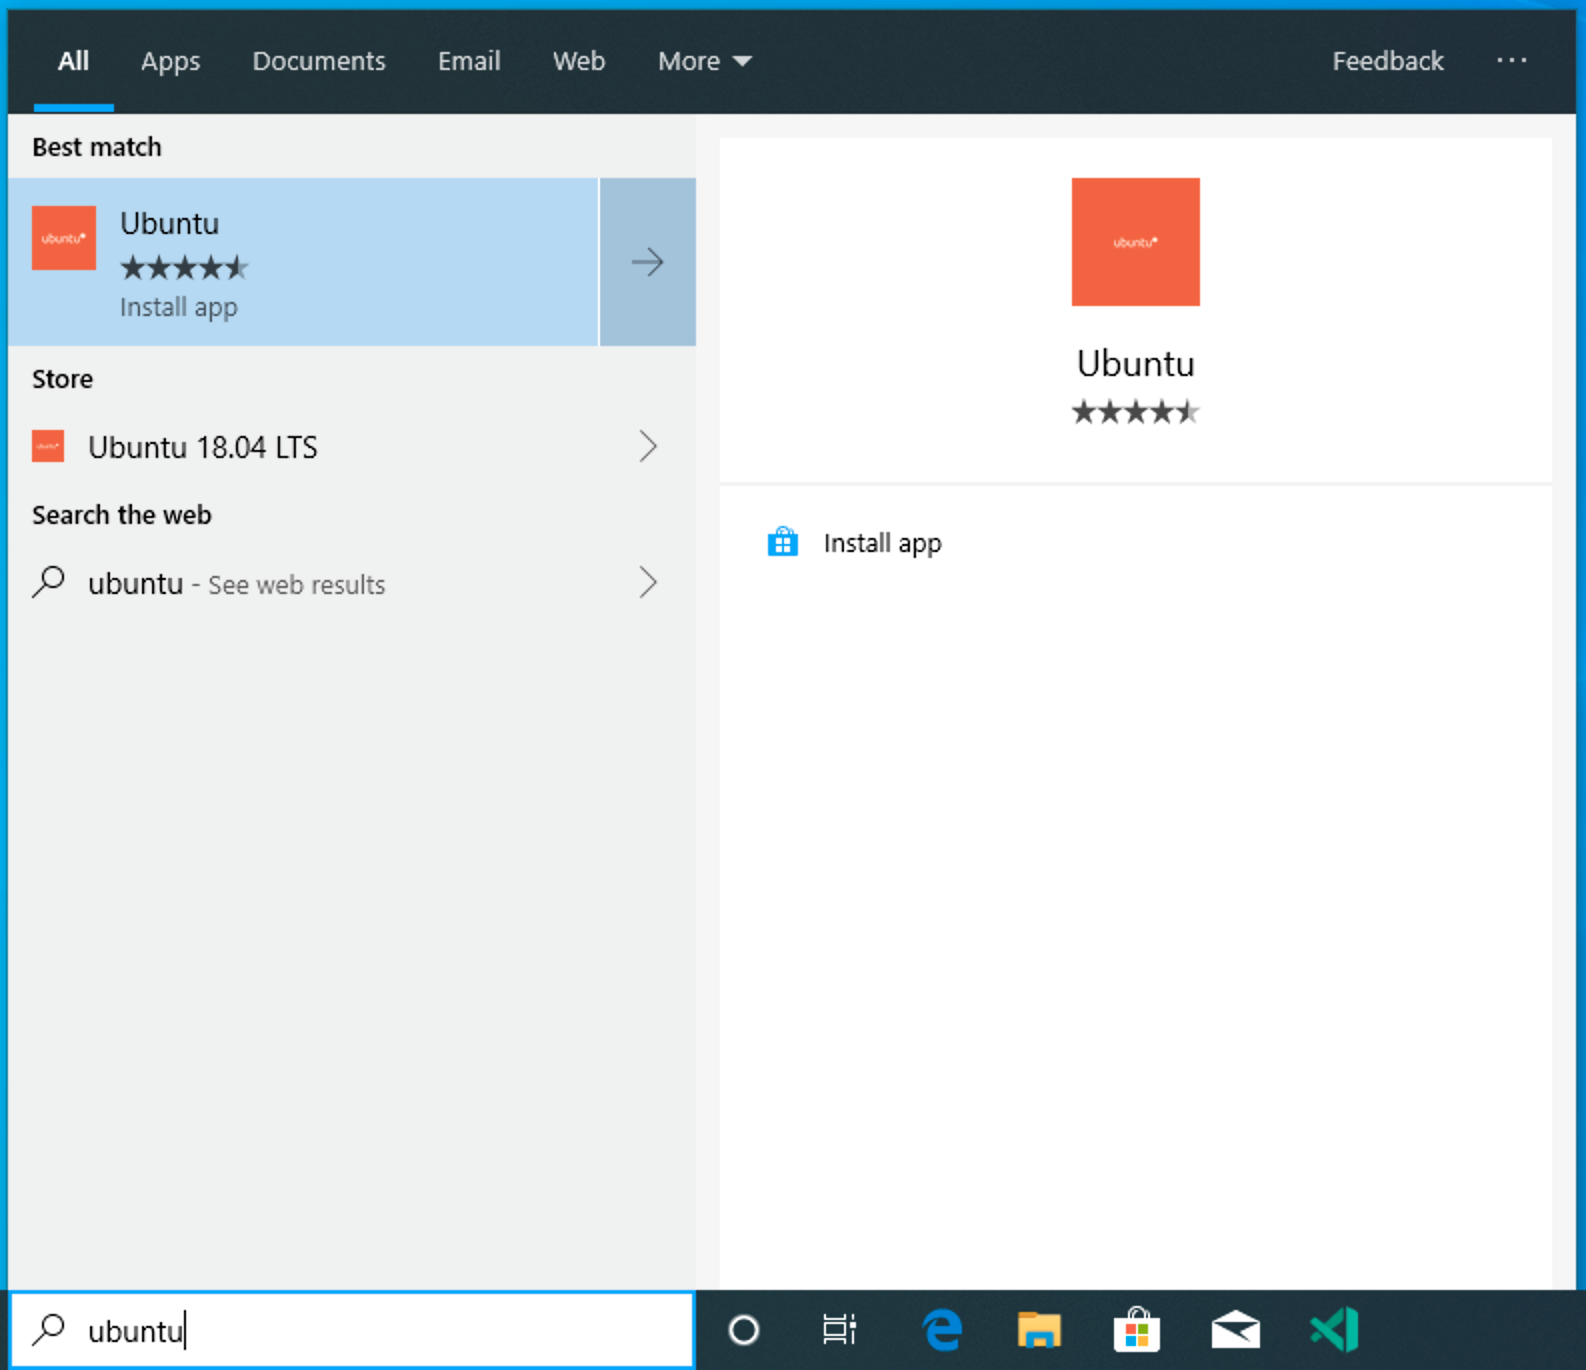
You’ll want to grab a linux distro from the MS Store. I went with Ubuntu since that is the one I am most familiar with.
And when done, select Launch to get started. This will open a Linux terminal and complete the installation. You’ll need to create a user ID and password since we’re setting up a full Linux instance, but once that’s done, boom! You are running Linux on Windows.
