Intro
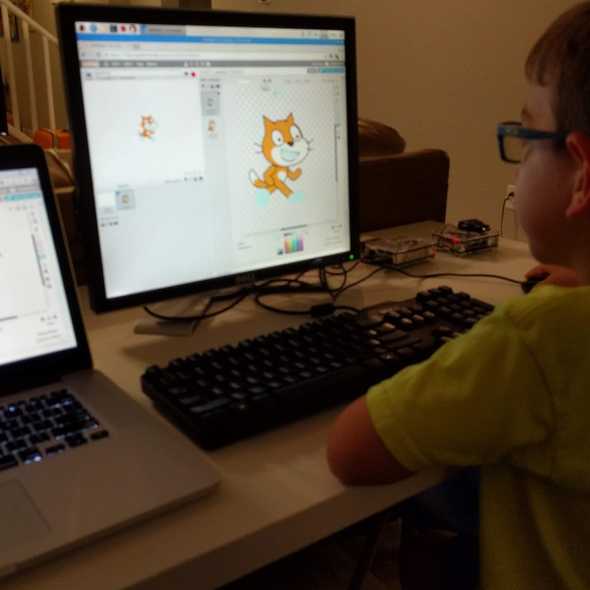
I was reflecting on the coding camp we put together for the boys last summer.
❤️they had a blast learning, building, and coding
It was cool to find that my boys share a passion for creating, just like their dad.
Hardware
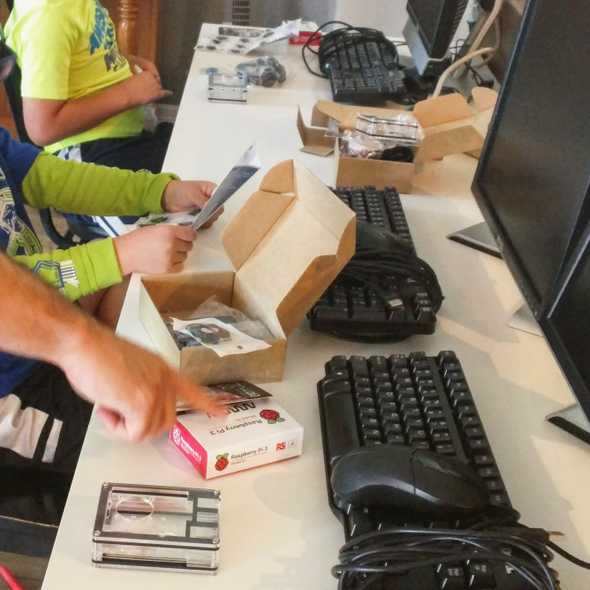
I needed cheap hardware since at this point I didn’t know if this would just be a phase.
💰I didn’t want to spend more than \$100.
I had already put together a Raspberry Pi(rpi) for my home network (which is a blog post on its own). So I thought that this would be an excellent solution for my boys linux rig as well.
I found a BOGO offer on Pis from Arrow Electronics. While you can just buy the entire kit from Amazon, these did not include the fans, case, or power adapter. So if your just looking for a case kit, Amazon has those too.
So at the end of the day, you will need:
- Raspberry Pi
- Case
- Fan and Heatsinks(optional)
- Power Adapter
- SD Memory Card (8GB Minimum)
- Monitor
- Keyboard and mouse
Software
In order to get an operating system on the Raspberry Pi, you will need an SD Memory card.
The os is over 4GB so they recommend a minimum of 8GB. However, Amazon has 32GB memory card for under \$10.
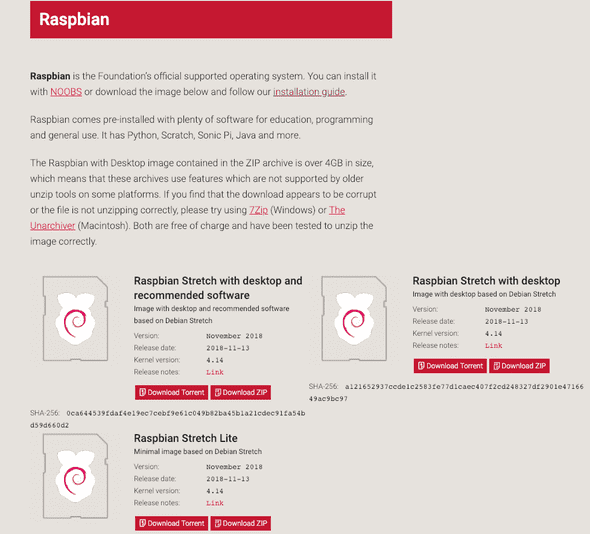
- The first step is to download the os from the official raspberry website.
- Then you want to create the bootable os using Etcher.

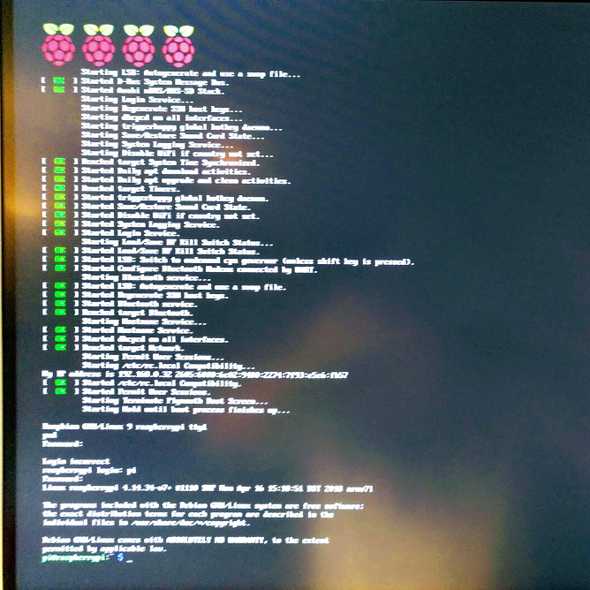
🔥Once its done, insert into your SD card into your rpi and fire it up!
Coding
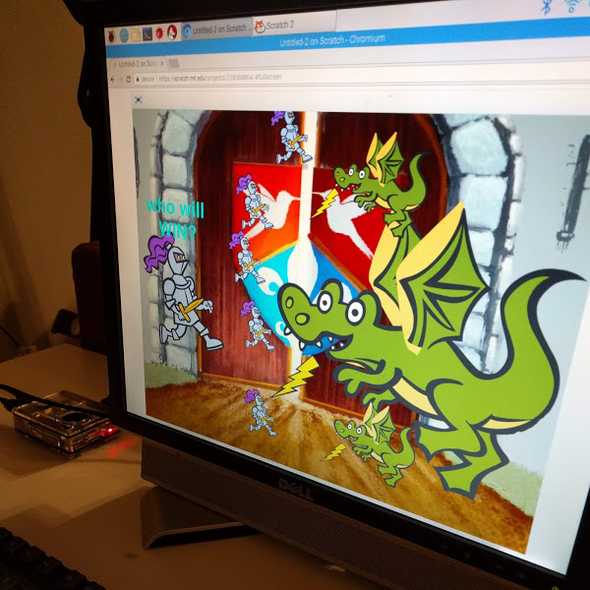
With the hardware and software working, we now come to what really matters. Why did we put all this stuff together?
🐙to learn to code
There is no better way to teach young children to code than Scratch.
With Scratch, you can program your own interactive stories, games, and animations — and share your creations with others in the online community.
Scratch is a project of the Lifelong Kindergarten Group at the MIT Media Lab. It is provided free of charge.
— Scratch About Page
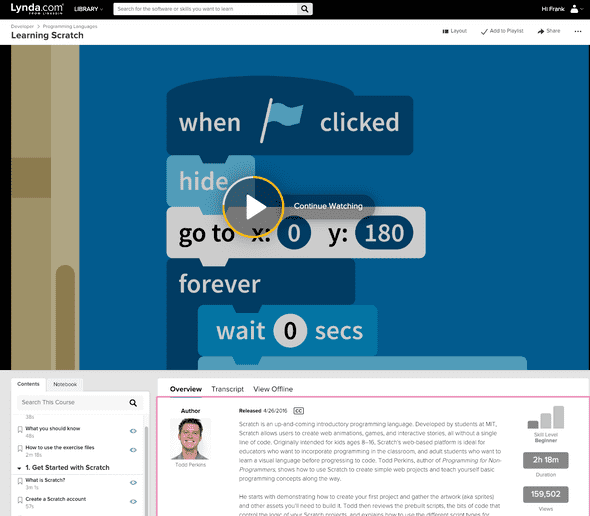
Lynda has a great intro to Scratch course that the boys and I went through. It was a lot of fun. Some things we learned:
- patience
- backdrops and sprites
- animating objects
- reacting to events
- changing sprite costumes
- build a game
- share your game with other Scratch coders
Conclusion
My boys enjoyed the Raspberry Pi boot camp, we lovingly called Daddy Camp.
Pro-tip: Anytime you do an activity with your children in the summer just add camp to the end of it. You’ll feel like your saving money.
We did a lot during Daddy Camp:
- build a raspberry pi
- hook up the peripherals
- install an operating system
- learn to code in Scratch
It was a success and I could clearly see that my boys enjoyed building stuff. I want to instill a creator’s heart in them.
Best of all, we spend quality time together.